RabbitMQ安装
安装Brew
之前一直抵制这种命令行的方式,主要是感觉是感觉会在电脑里面装乱七八糟的东西不可控。但是了解了一下安装步骤后发现稍微有点繁琐,所以还是妥协把Brew安装上;具体安装方法很简单执行命令即可。
/bin/zsh -c "$(curl -fsSL https://gitee.com/cunkai/HomebrewCN/raw/master/Homebrew.sh)"
这个脚本是国人封装的脚本,很不错,具体介绍见:https://gitee.com/cunkai/HomebrewCN
Brew卸载命令
/bin/zsh -c "$(curl -fsSL https://gitee.com/cunkai/HomebrewCN/raw/master/HomebrewUninstall.sh)"
安装erlang
brew install erlang
查看版本: erl -v
安装RabbitMQ
安装
brew install rabbitmq
安装过程中出了点小插曲,报错提示如下:
==> Installing rabbitmq
Error: Your Command Line Tools (CLT) does not support macOS 11.
It is either outdated or was modified.
Please update your Command Line Tools (CLT) or delete it if no updates are available.
Update them from Software Update in System Preferences or run:
  softwareupdate --all --install --force

If that doesn't show you any updates, run:
  sudo rm -rf /Library/Developer/CommandLineTools
  sudo xcode-select --install

Alternatively, manually download them from:
  https://developer.apple.com/download/more/.

Error: An exception occurred within a child process:
  SystemExit: exit
执行 softwareupdate --all --install --force 更新一下我的xcode-select 发现是最新版本;然后执行后面的删除、重装,解决问题。
安装完成后的提示:
huzd@huzd-MacBook-Pro ~ % brew install rabbitmq
Warning: Treating rabbitmq as a formula. For the cask, use homebrew/cask/rabbitmq
==> Downloading https://github.com/rabbitmq/rabbitmq-server/releases/download/v3.8.14/rabbitmq-server-generic-unix-3.8.14.tar.xz
Already downloaded: /Users/huzd/Library/Caches/Homebrew/downloads/214e4be61070ecf00b4c8d5141c557d37d7c056bb0dddd6be1502abc0ca6a98e--rabbitmq-server-generic-unix-3.8.14.tar.xz
==> /usr/bin/unzip -qq -j /usr/local/Cellar/rabbitmq/3.8.14/plugins/rabbitmq_management-3.8.14.ez rabbitmq_management-3.8.14/priv/www/cli/rabbitmqadmin
==> Caveats
Management Plugin enabled by default at http://localhost:15672

To have launchd start rabbitmq now and restart at login:
  brew services start rabbitmq
Or, if you don't want/need a background service you can just run:
  rabbitmq-server
==> Summary
🍺  /usr/local/Cellar/rabbitmq/3.8.14: 114 files, 23.6MB, built in 8 seconds
huzd@huzd-MacBook-Pro ~ %
安装可视化监控插件
// 切换到MQ目录
cd /usr/local/Cellar/rabbitmq/3.8.14
// 启用rabbitmq management插件
sudo sbin/rabbitmq-plugins enable rabbitmq_management
配置环境变量
sudo vim ~/.bash_profile
//加入以下两行
export RABBIT_HOME=/usr/local/Cellar/rabbitmq/3.8.14
export PATH=$PATH:$RABBIT_HOME/sbin
// 立即生效
source ~/.bash_profile
常用命令
// 后台启动
sudo rabbitmq-server -detached  //参数detatched表示以守护线程方式启动
// 查看状态
sudo rabbitmqctl status
// 访问可视化监控插件的界面
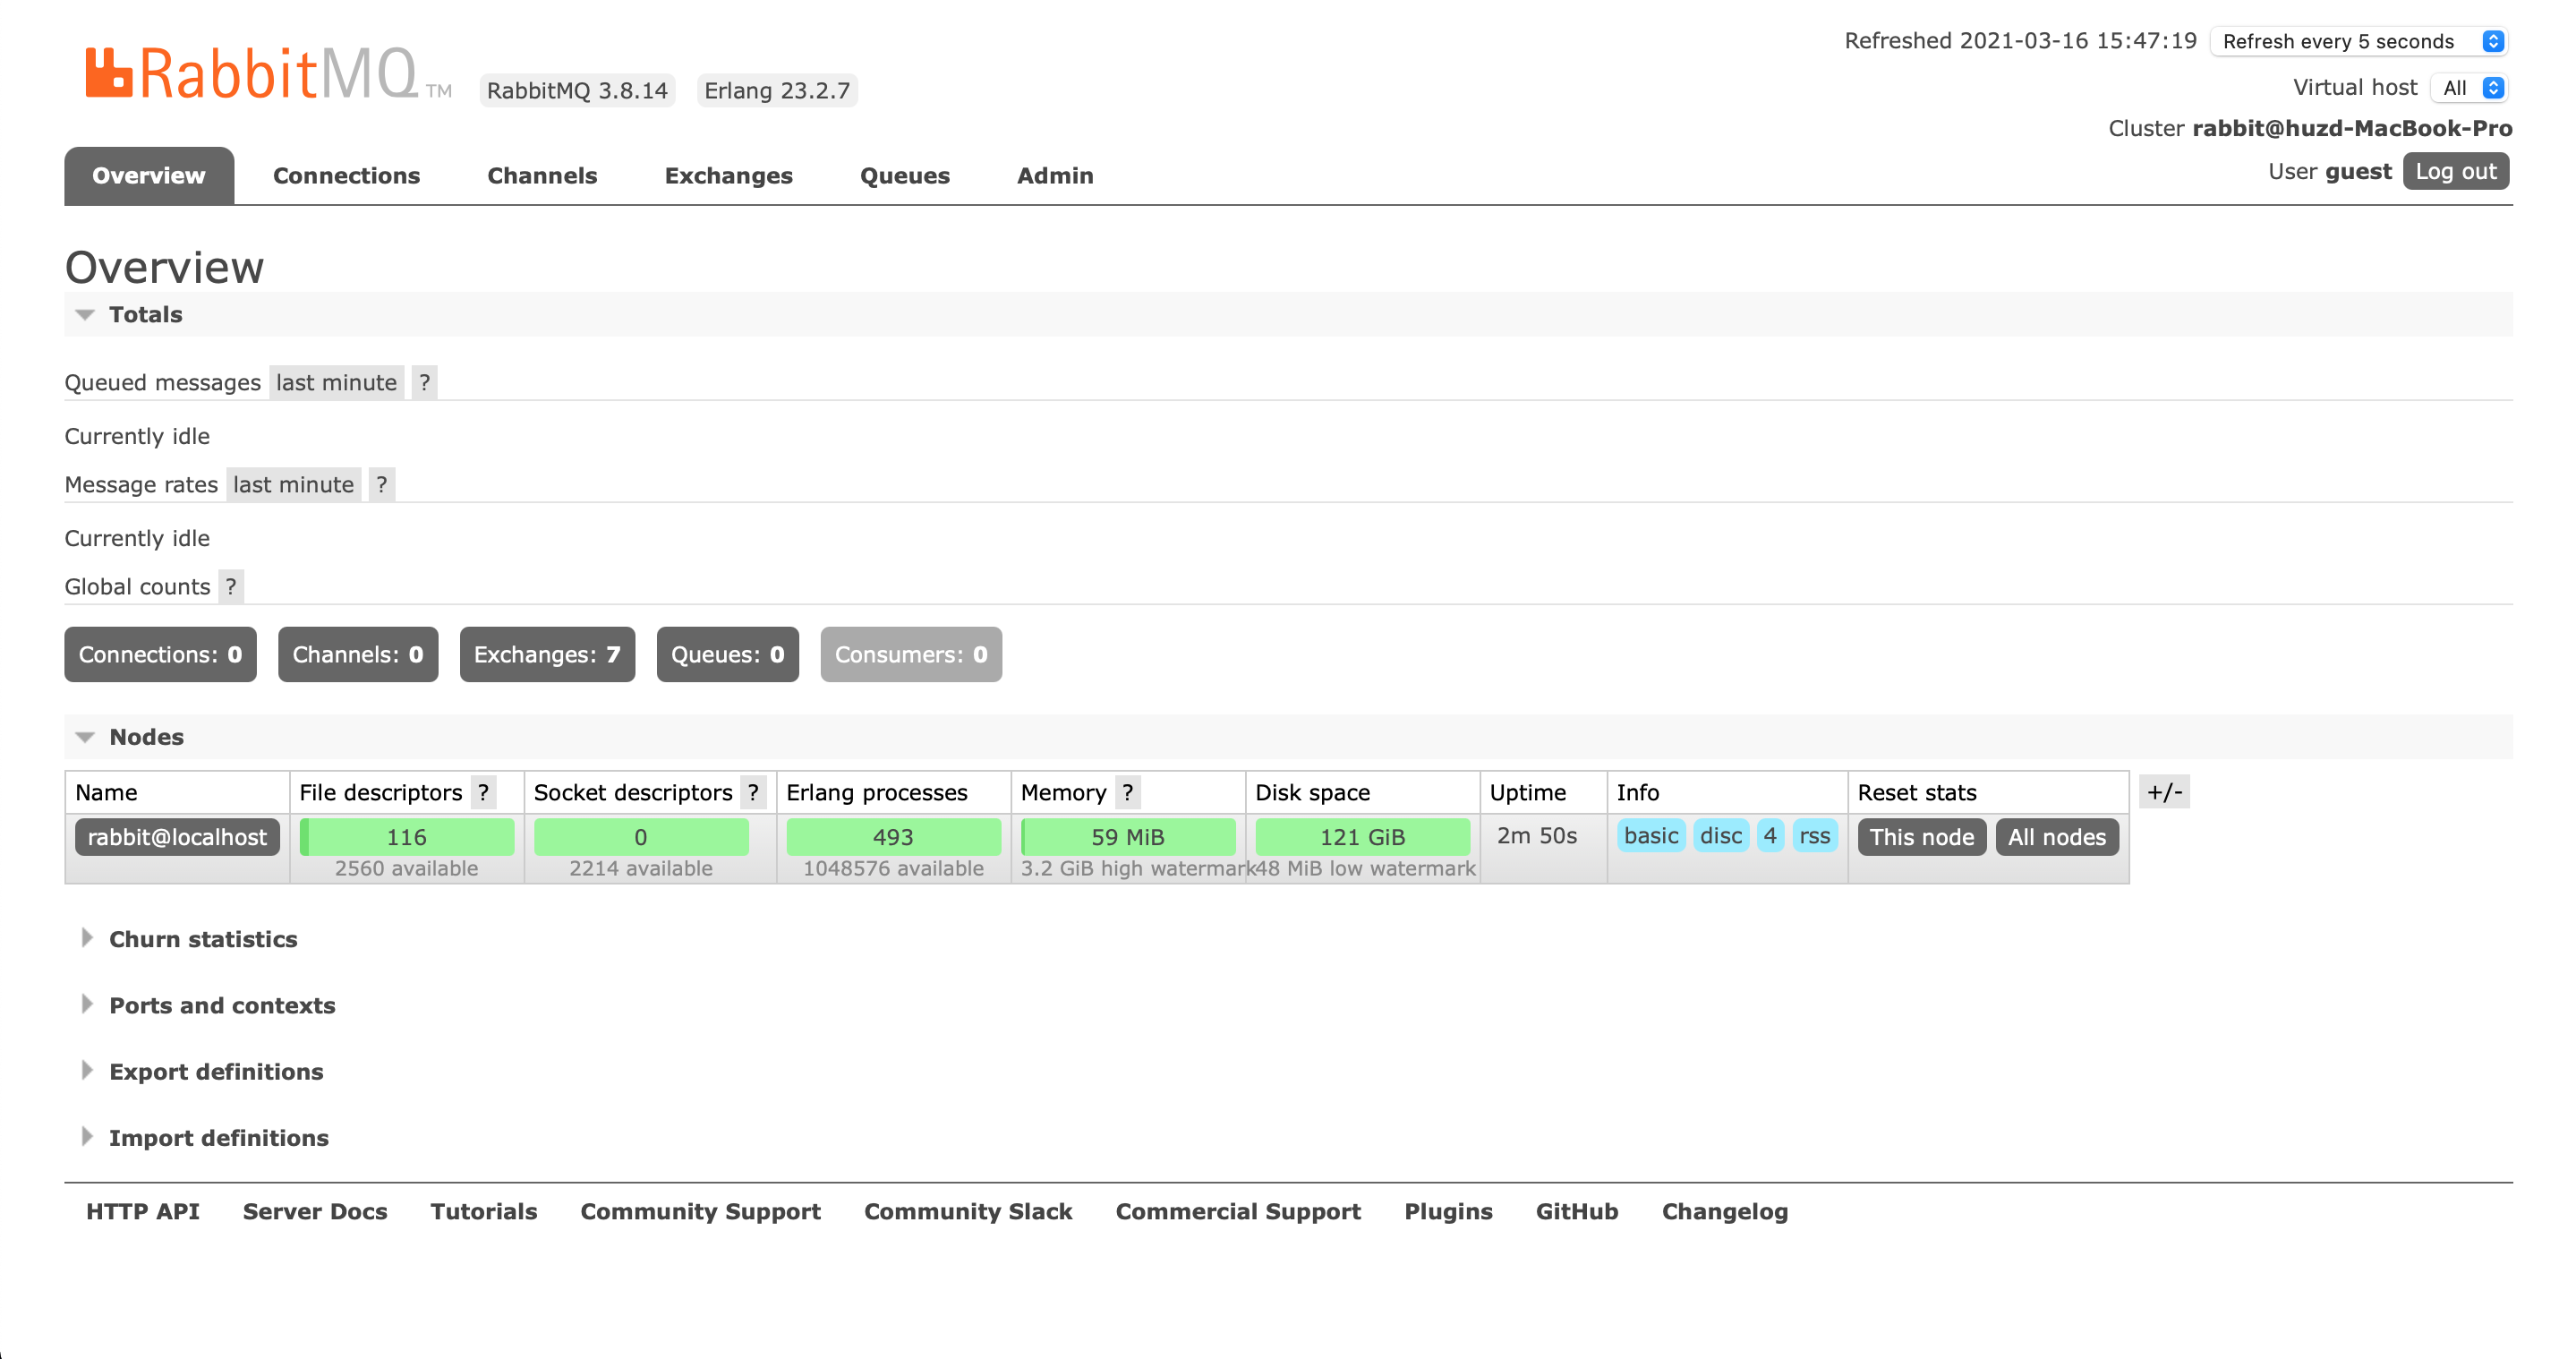
// 浏览器内输入 http://localhost:15672,默认的用户名密码都是guest,登录后可以在Admin那一列菜单内添加自己的用户
rabbitmqctl stop 关闭
启动RabbitMQ日志:
huzd@huzd-MacBook-Pro sbin % sudo ./rabbitmq-server
Configuring logger redirection

  ##  ##      RabbitMQ 3.8.14
  ##  ##
  ##########  Copyright (c) 2007-2021 VMware, Inc. or its affiliates.
  ######  ##
  ##########  Licensed under the MPL 2.0. Website: https://rabbitmq.com

  Doc guides: https://rabbitmq.com/documentation.html
  Support:    https://rabbitmq.com/contact.html
  Tutorials:  https://rabbitmq.com/getstarted.html
  Monitoring: https://rabbitmq.com/monitoring.html

  Logs: /usr/local/var/log/rabbitmq/rabbit@localhost.log
        /usr/local/var/log/rabbitmq/rabbit@localhost_upgrade.log

  Config file(s): (none)

  Starting broker... completed with 6 plugins.
访问后台管理:http://localhost:15672 默认用户名 guest guest


本文由 huzd 创作,采用 知识共享署名4.0 国际许可协议进行许可本站文章除注明转载/出处外,均为本站原创或翻译,转载前请务必署名最后编辑时间
为:
2021/03/21 21:50
